

AI Noise Reduction Microphone
1. Control Precautions
-
Before powering on a new board, connect an ammeter to check if the system current is normal to avoid burning the chip due to high current.
-
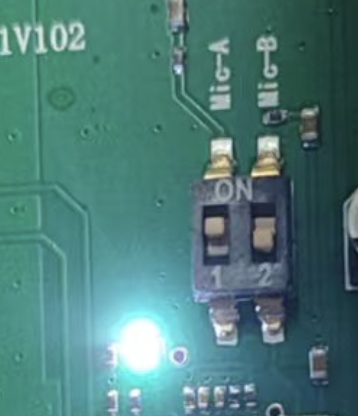
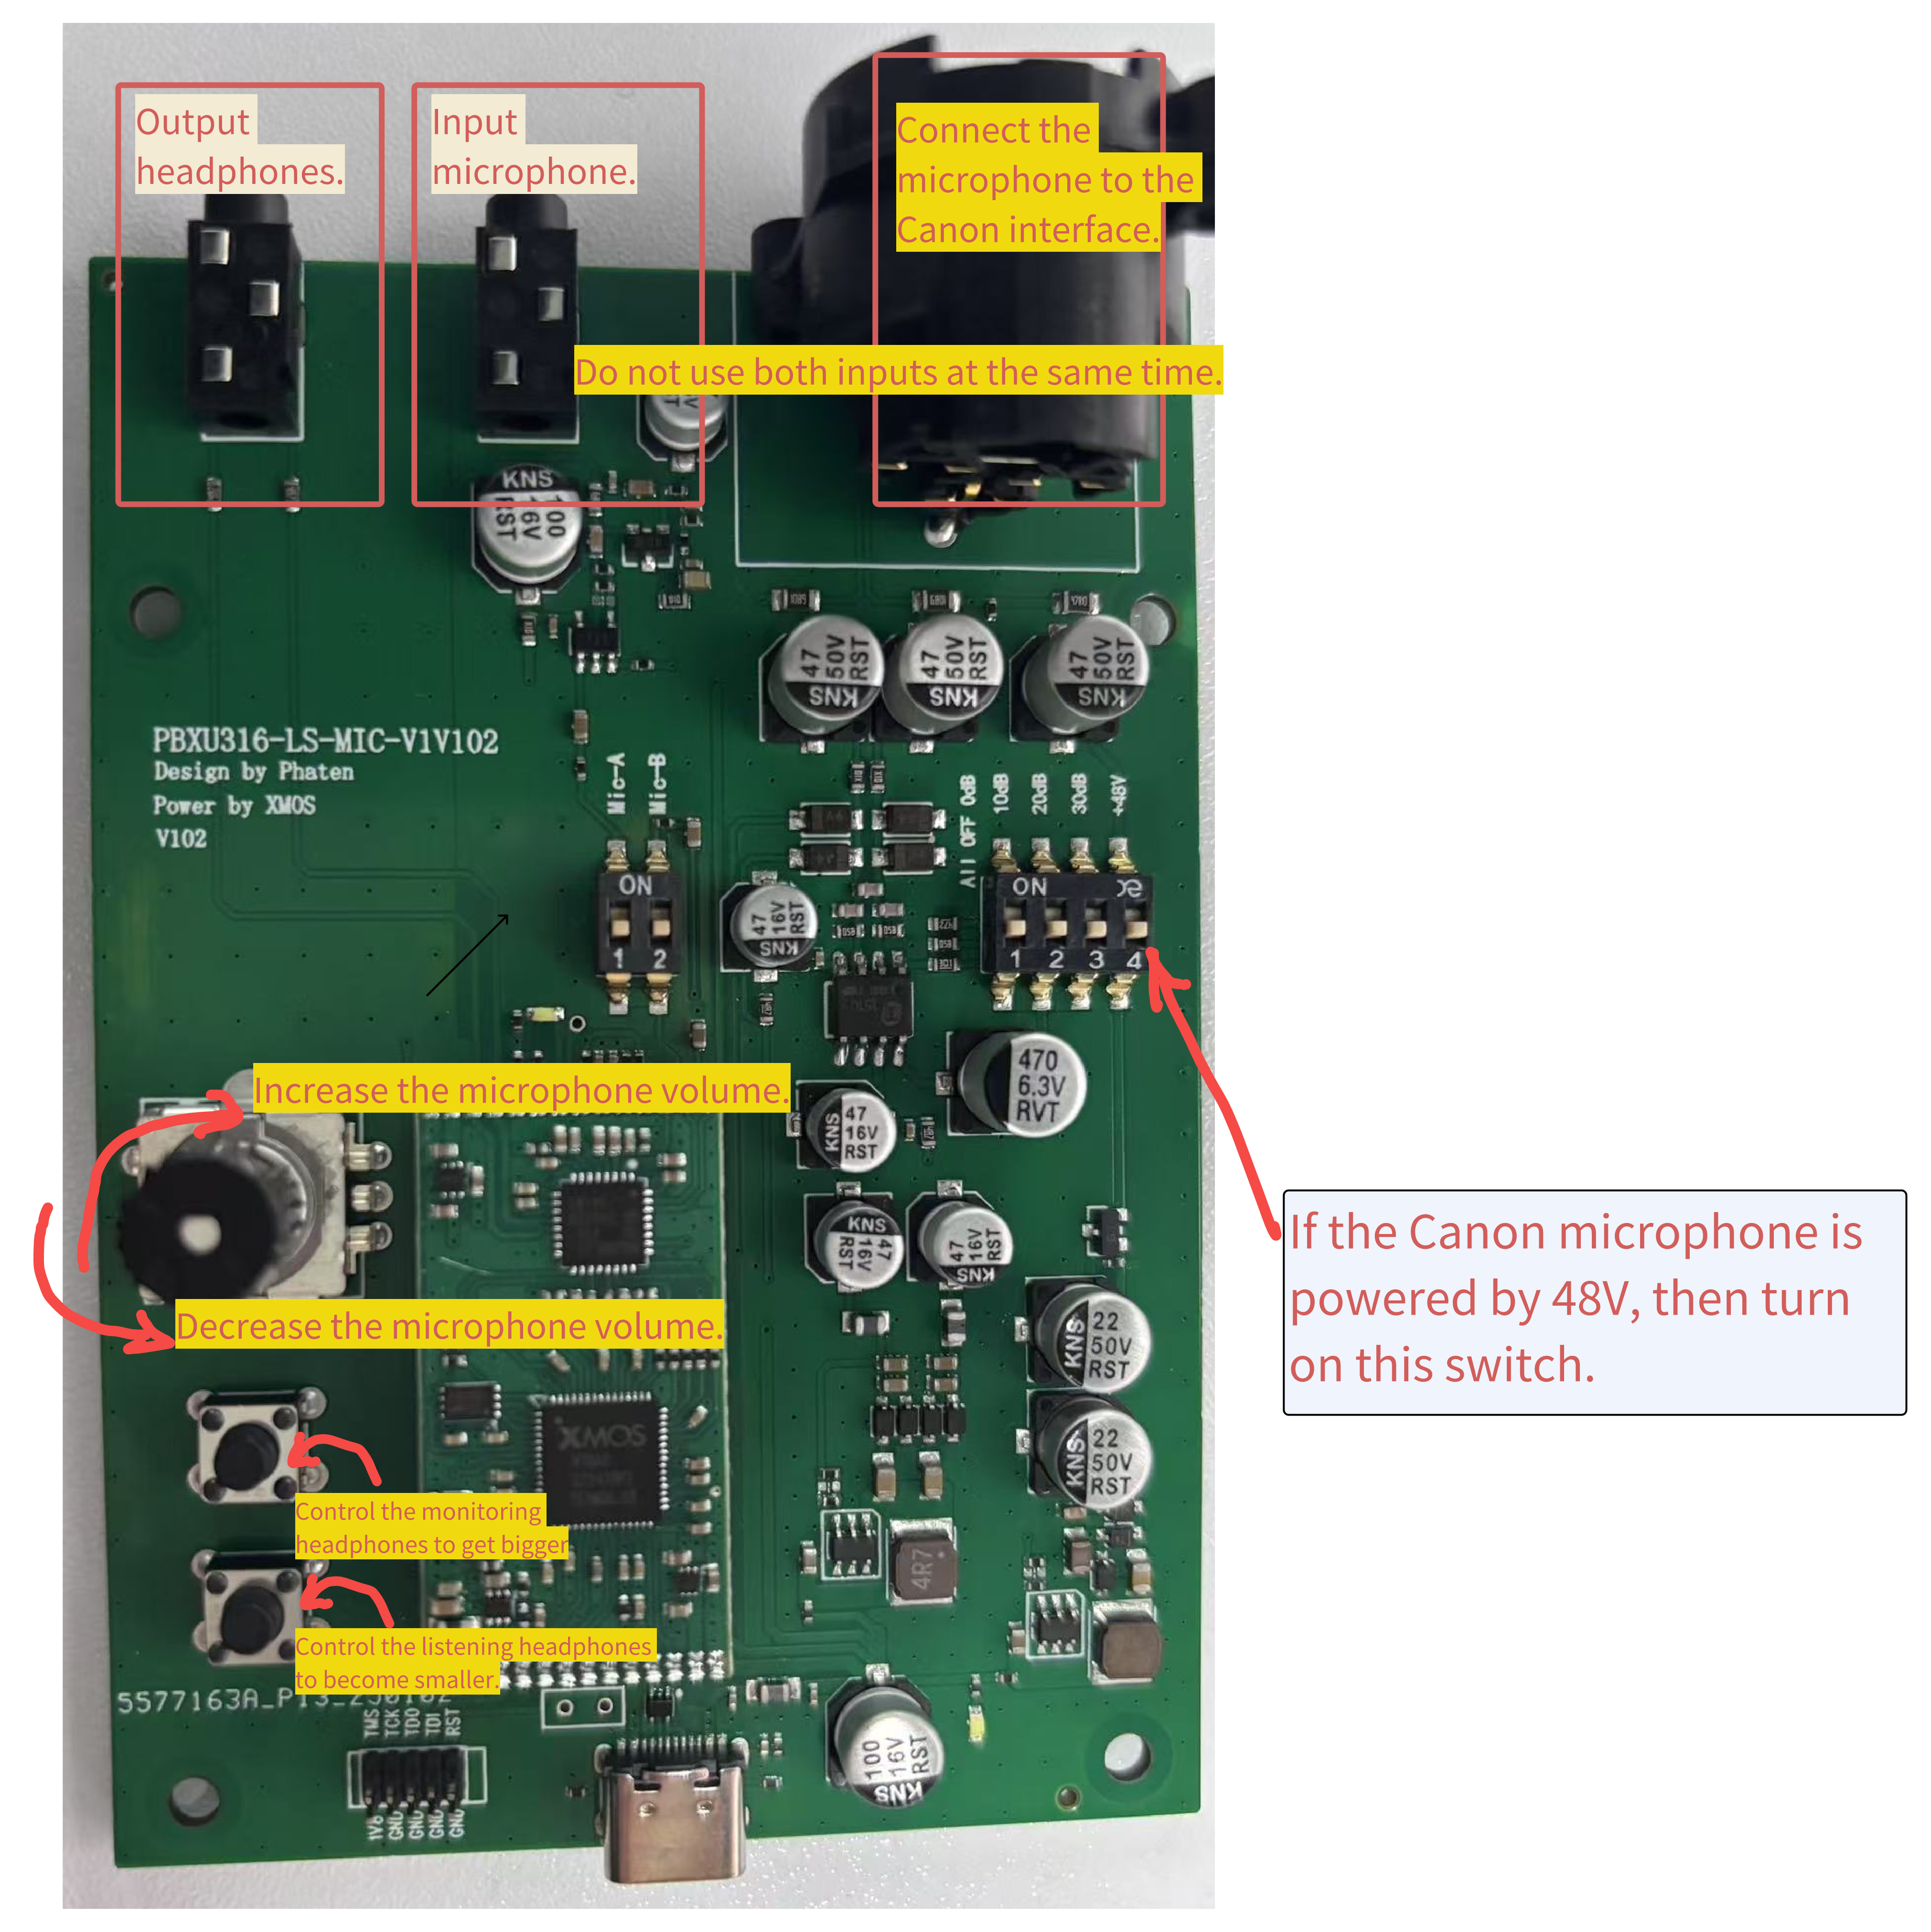
MIC-A and MIC-B channel microphone audio switches can only be alternately switched for testing. Opening both simultaneously will cause the volume to decrease.
3. Important
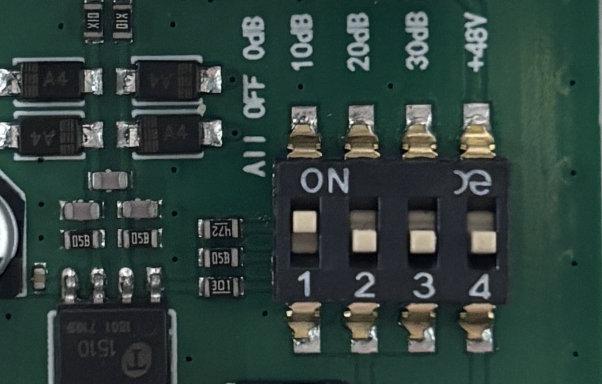
For XLR channel connected to dynamic microphones, turn off the +48V switch to avoid damaging the microphone.
- The 10dB, 20dB, 30dB switches operate alternately to enable the corresponding gain value. Only one switch can be enabled at a time, the other two must be closed. For example, when enabling 10dB, the other two must be closed.
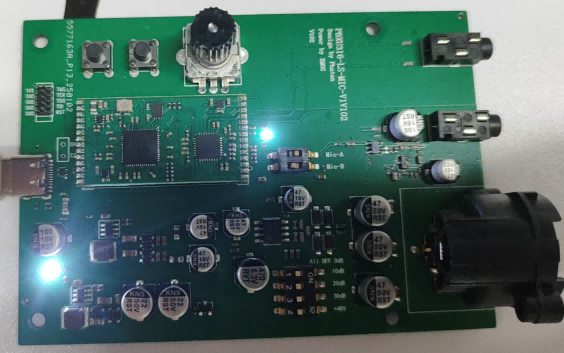
- The white power indicator LED next to the USB is too bright. The resistor can be changed to 1.2-1.5K to reduce brightness.
2. Button Description
3. PC Control Software Usage
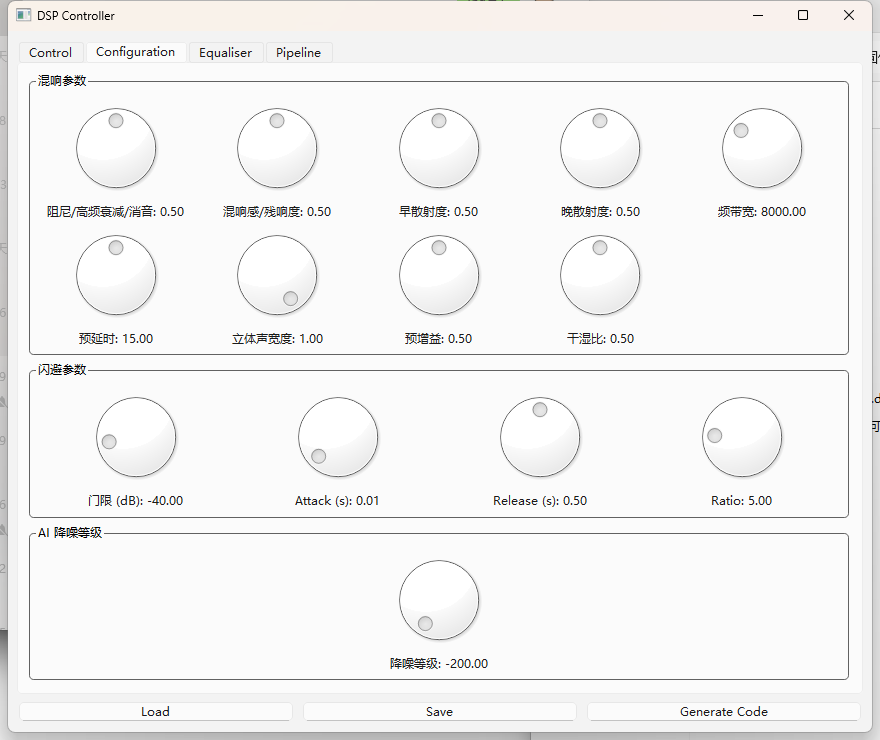
The software can be used to configure the required scenarios. After opening, there will be an operation interface and a log display cmd window.
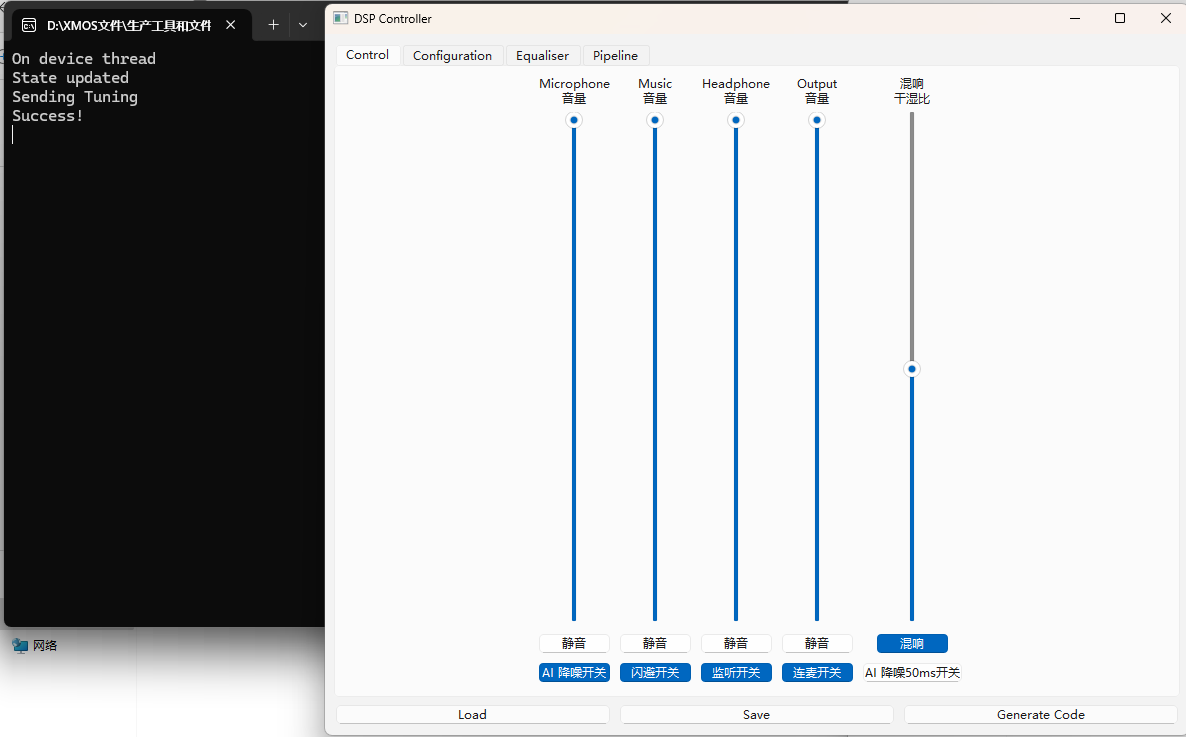

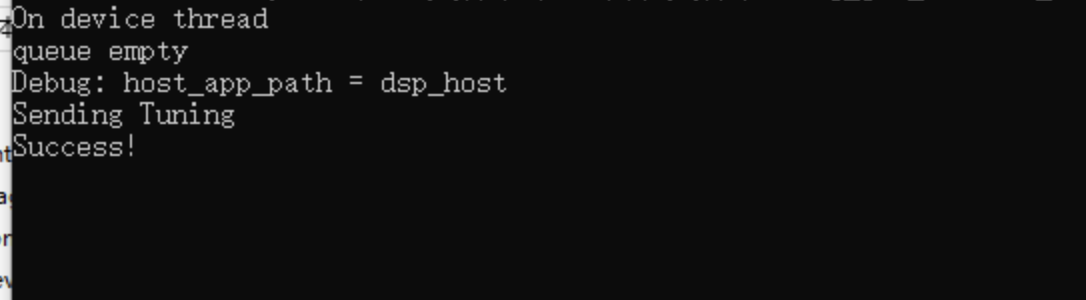
After adjusting the settings, click "Load" at the bottom left to apply the changes to the device. If the settings are successful, logs will be printed.
After configuration, if you need to save the settings, click "Save".